
DIY vs Professional Floor Sanding
There are pros and cons to both DIY and professional floor sanding.
- Pros of DIY floor sanding include that it’s a relatively affordable option, you can do it yourself (or with the help of a friend or family member), and it’s usually easier than professional floor sanding.
- Cons of DIY floor sanding include that it may not be as accurate or thorough as professional floor sanding, and you may not be able to achieve the same results in all cases.
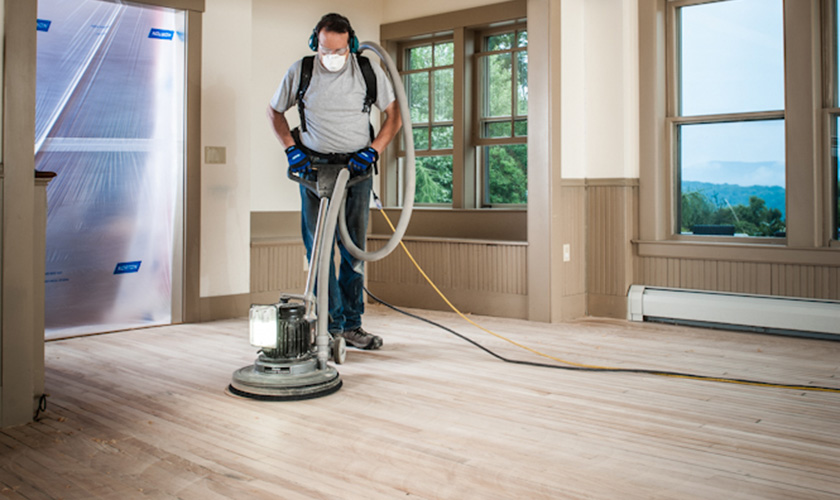
- Pros of professional floor sanding include that it’s often more accurate and thorough than DIY floor sanding, and you can get better results if you use a qualified contractor.
- Cons of professional floor sanding include that it can be expensive and may require specialized equipment or knowledge (for example, to avoid damaging certain surfaces).
Things should know about floor sanding
Floor sanding is a very important task that must be performed regularly to keep your floor in good condition. Here are some tips for your help to start:
- Always wear safety gear when sanding floors. This includes shoes, gloves, and a dust mask.
- It’s important to choose the right type of sandpaper for the proper floor sanding process Sandpaper is categorized by its grit (number of abrasives bonded together). The higher the grit number, the more serious the sanding will be.
- Start with a lower grit paper and work your way up as needed.
- Work in small, consistent circles to avoid roughness or scratches on your floor surface.
- Allow the paper to cool between coats before applying the next one.
Why Choose Floor sanding?
Floor sanding is a great way to remove scratches, dents, and other marks from your flooring. It’s also a great way to restore its original appearance.
Floor sanding is a simple process that can be done by anyone with some basic tools and knowledge. You’ll need an orbital Sander (or similar device), some flooring polish, and a bucket or container for water.
To start, outline the area you want to sand with the orbital Sander. This will help you determine the precise area you need to polish. Once you’ve determined the area, start sanding with medium grits until the scratch or dent is gone. Then switch to fine grits and polish away until the surface is smooth and shiny again.
Though floor sanding may seem like a mundane task, it can make a big difference in the appearance of your flooring – and that’s something you should take advantage of!
There are a few different ways that floor sanding can be done: using an orbital sander, a power miter saw fitted with a blade designed for floor sanding, or a pole sander. Whichever method you choose, there are certain things that you need to keep in mind.
Floor sanding is a great way to improve the appearance of your floors. It can help to remove dirt, dust, and other debris, restoring the floor to its original condition.


Notice: Function WP_Scripts::localize was called incorrectly. The $l10n parameter must be an array. To pass arbitrary data to scripts, use the wp_add_inline_script() function instead. Please see Debugging in WordPress for more information. (This message was added in version 5.7.0.) in /home2/medicalguru101/public_html/theneocom.com/wp-includes/functions.php on line 6078
Notice: Function WP_Scripts::localize was called incorrectly. The $l10n parameter must be an array. To pass arbitrary data to scripts, use the wp_add_inline_script() function instead. Please see Debugging in WordPress for more information. (This message was added in version 5.7.0.) in /home2/medicalguru101/public_html/theneocom.com/wp-includes/functions.php on line 6078